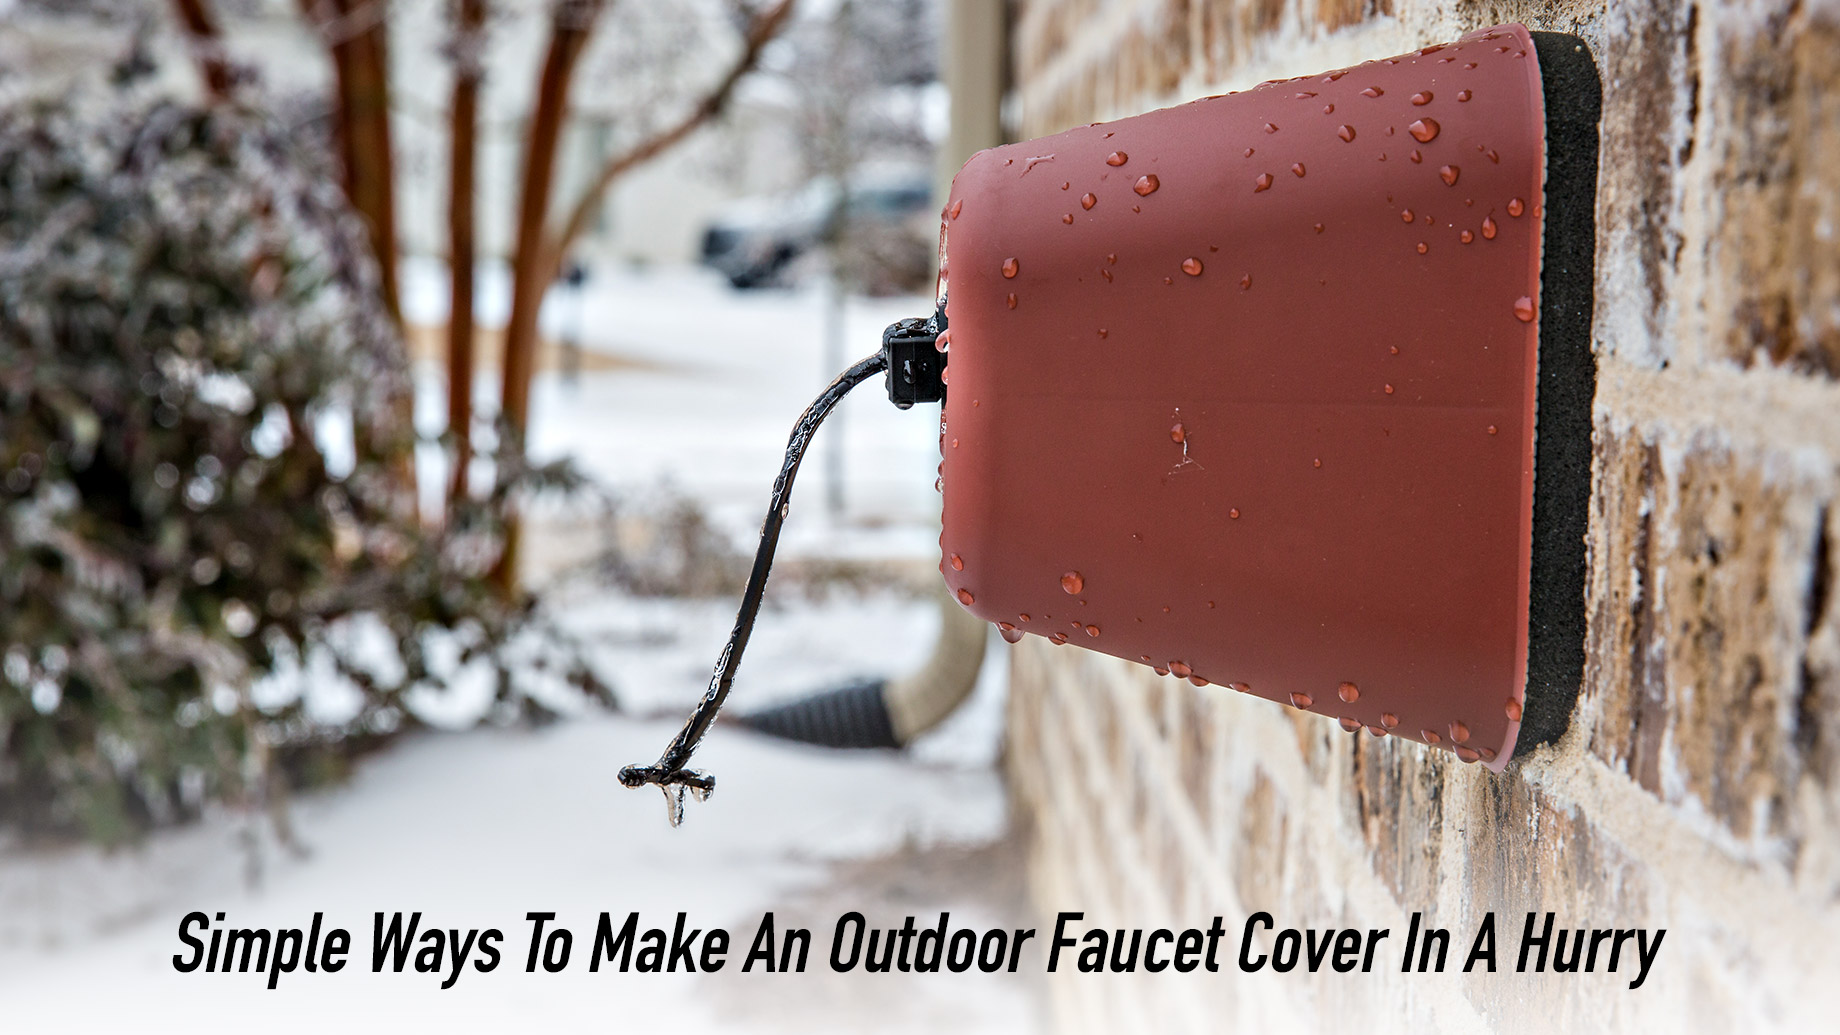
If you want to make a cover for your outdoor faucet in a hurry to protect it, you will need to go ahead strategically. As for the tools you will need:
- A pair of scissors
- A pair of gloves
- One wire cutter and
- An electric drill that has a ¼ inch drill bit.
As for the materials, you will require a plastic container of a large diameter, like an empty Gatorade can. You will also need a roll of fibreglass pipe insulation as well as a fence wire roll. Also, make sure that you keep a roll of duct tape or any other similar type of waterproof tape handy.
You can get it all in any hardware store. If you do not have time to visit the hardware store, you can substitute a few of these materials with a piece of cloth or a pair of worn socks for batting and a straightened coat hanger to use it as the wire.
The process includes:
- Boring a ¼ inch hole using the drill at the bottom of the plastic container near the side.
- Cutting a two feet length of wire using the wire cutter.
- Folding it in half ensuring a tight bend.
- Inserting the bent end into the hole to secure the cover on the faucet.
- Cutting some strips of insulation, one 6-inch-long and two 12-inches long.
- Folding and stuffing the small insulation into the bottom.
- Wrapping the longer ones around the inside bottom and top an inch past the lid.
- Fold the wire sticks past the cover and another 4-inch-long wire to create a loop around the head of the faucet.
- Wrapping the duct tape on the outside and around the protruding insulation.
To install, loop the folded wire around the faucet, push it inside, pulling the excess wire at the back. Secure the two wire ends sticking out on opposite sides, fold them to meet the top side, and twist them to secure the faucet cover. To cover the duct tape, you can paint it, optionally, to match.
Another Alternative Way
You can also make an outdoor faucet cover using Styrofoam cups, a two-litre pop bottle, and duct tape.
- Take three large Styrofoam cups of 20 oz and stack them together inside each other.
- Cut off the top of the top 2 cups.
- Put these cups spout first onto the faucet and secure it with duct tape.
For extra protection, you can cut the bottom half off and put it over the cups and put quilt batting or fibreglass or a rag or spray-in foam for extra insulation. Tape these all and also drill a hole to use zip-ties for a snug fit.
Special Instructions To Follow
You must unscrew the hose and make sure it is completely closed. Shut off any individual valve, wrap the faucet with rags, towels or newspapers, and a couple of layers of insulation. Cover it all with one or two plastic bags and secure it tightly with several rounds of duct tape.
Preparing For Winter
Covering outdoor faucets in the winter is an important step in protecting your home from cold weather. When water inside the faucet freezes, it can expand and cause the faucet or pipes to crack or break, leading to costly repairs. To cover an outdoor faucet, you can use a foam cover or wrap the faucet with insulation. Be sure to remove any hose attachments and drain the faucet before covering it.
In addition to covering outdoor faucets, it’s also a good idea to prepare your home appliances for winter. This can help ensure that they continue to operate efficiently and effectively throughout the colder months. Some quick steps you can take include:
- Cleaning and inspecting your furnace and having it serviced by a professional if needed.
- Ensuring that your home is well-insulated, including sealing any drafts around windows and doors.
- Protecting your pipes from freezing by insulating them and allowing a small drip from faucets during extreme cold.
- Storing outdoor furniture, grills, and other equipment in a protected area to prevent damage from snow and ice.
By following these simple steps, you can help protect your home and appliances from the effects of winter weather, in addition to protecting your water faucets during the cold winter months.