Getting Started with Home Ethernet
Setting up a wired home network can boost your internet speeds and reliability. You’ll need to learn some basics, plan your layout, and pick the right cables.
Understanding Ethernet Basics
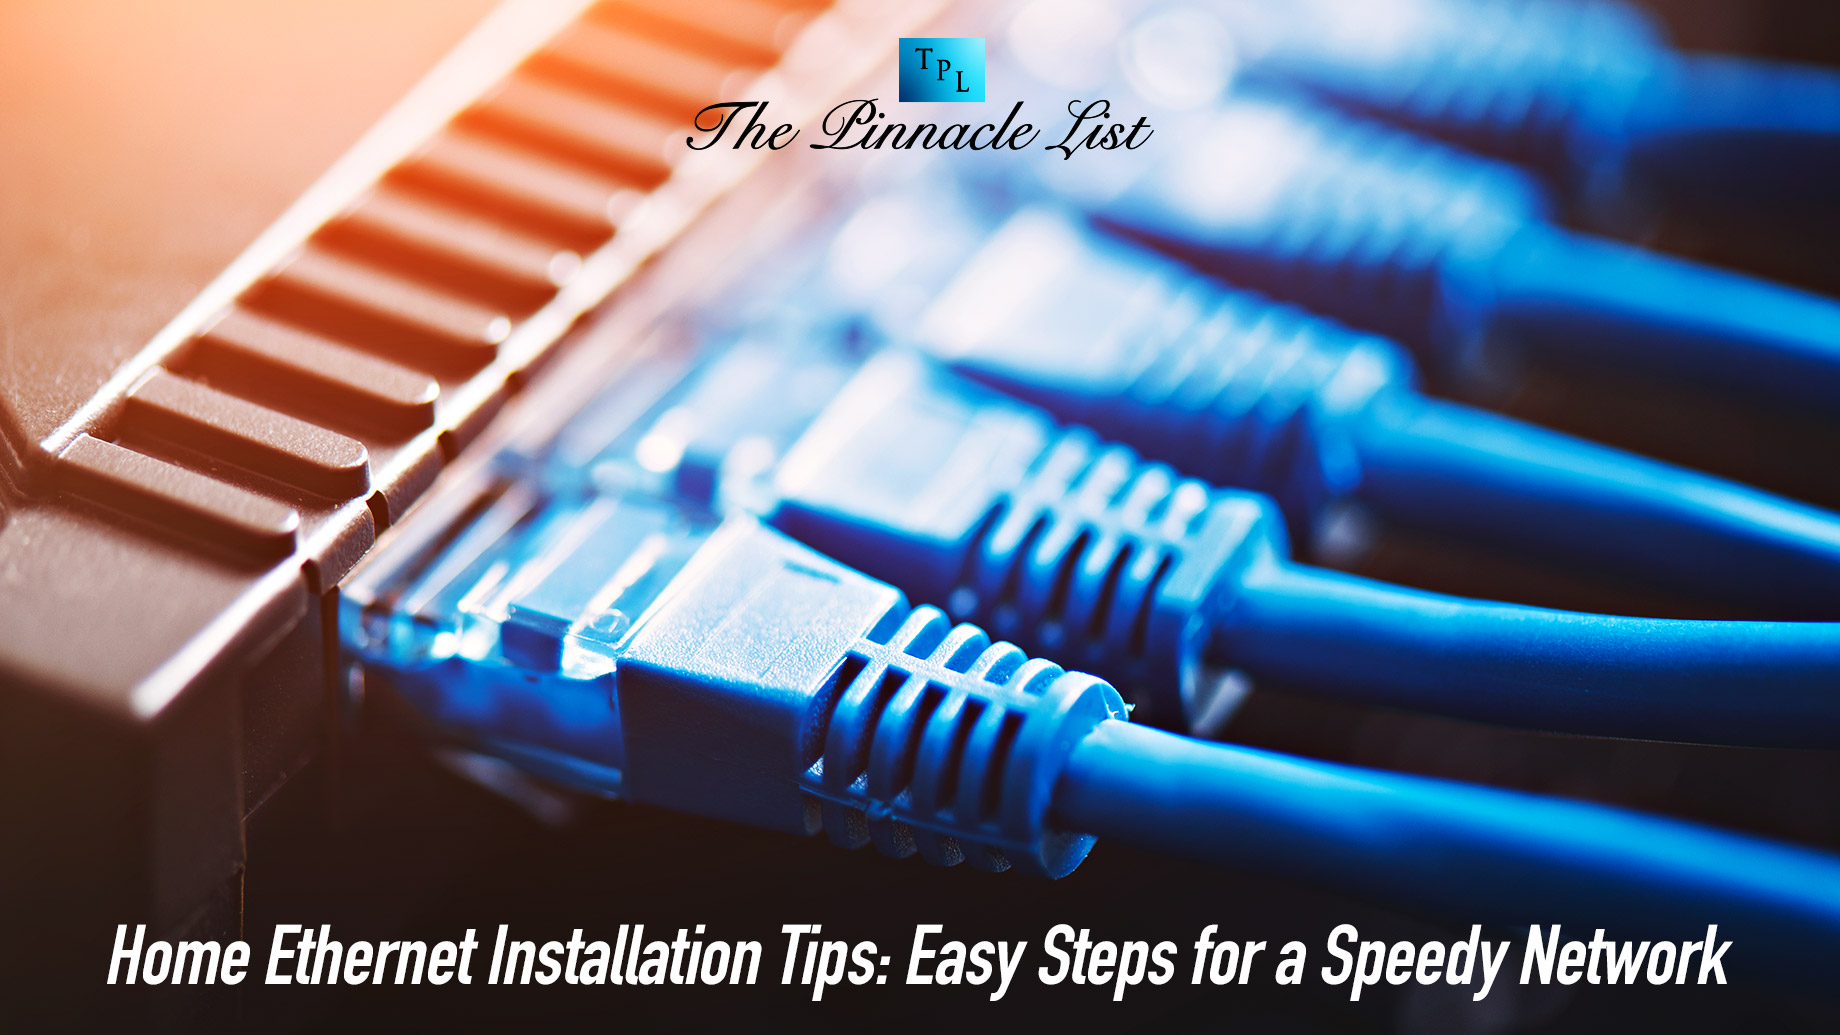
Ethernet is a way to connect devices using cables instead of Wi-Fi. It’s faster and more stable than wireless connections. Ethernet cables plug into ports on your router, computers, and other devices.
You’ll see terms like Cat5, Cat6, and Cat6a. These refer to different cable types. Higher numbers mean newer cables that can handle faster speeds.
Ethernet is great for:
- Online gaming
- Streaming 4K video
- Large file transfers
- Video calls
Planning Your Wired Network Layout
Start by making a simple map of your home. Mark where you want internet connections. Think about:
- Where your modem and router are
- Which rooms need wired connections
- How to run cables between floors
Consider using a patch panel. It’s a central hub where all your cables connect. This makes it easier to manage your network.
Don’t forget about:
- Power outlets near connection points
- Keeping cables away from heat sources
- Avoiding sharp bends in the cables
Choosing the Right Ethernet Cable
Pick cables that fit your needs and budget. Here’s a quick guide:
| Cable Type | Max Speed | Best For |
| Cat5e | 1 Gbps | Basic use |
| Cat6 | 10 Gbps | Future-proofing |
| Cat6a | 10 Gbps | Long runs |
Cat6 is a good choice for most homes. It’s fast enough for current needs and can handle future speed upgrades.
When buying cables, look for:
- Solid copper cores (not copper-clad aluminum)
- Shielding if you have lots of electrical interference
- The right length to avoid excess cable
Remember, shorter cables are usually better. They have less signal loss over distance.
Tools and Materials
Getting the right tools and materials is key for a smooth Ethernet installation. You’ll need some basic items plus a few special networking tools.
Essential Tools for Installation
You’ll want to gather these tools before starting:
- Punch down tool
- Wire cutters/strippers
- RJ45 crimping tool
- Cable tester
- Drill and bits
- Screwdrivers
- Fish tape or rods
- Measuring tape
A punch down tool lets you connect wires to jacks. Wire cutters trim cables to size. The crimping tool attaches RJ45 plugs. A cable tester checks your connections work. You’ll use the drill to make holes for cable runs. Screwdrivers help mount plates and jacks. Fish tape pulls cables through walls.
Selecting Quality Materials
Choose these high-quality materials for best results:
- Cat6 or Cat6a Ethernet cables
- RJ45 connectors and jacks
- Wall plates
- Cable management clips/ties
- Patch panel (optional)
Get solid copper Cat6 cables for fast speeds. Avoid cheap copper-clad aluminum. Shielded cables reduce interference. Pick keystone jacks and wall plates that match your decor. Cable management keeps things tidy. A patch panel organizes multiple runs.
Buy extra supplies in case of mistakes. Test everything before installing. Quality materials cost more but last longer and work better.
Wiring the Home Network
Setting up a wired network in your home gives you fast, reliable internet. You’ll need to run cables, install outlets, and keep everything tidy. Let’s go through the key steps.
Running Cables and Outlets
Start by planning your cable routes. Choose a central spot for your main network equipment. This could be a closet or utility room. From there, map out paths to each room where you want an internet connection.
Avoid running cables near power lines or HVAC ducts. These can cause interference. Use existing openings like air vents or holes for TV cables when possible. For new routes, you may need to drill small holes in walls or floors.
Measure carefully before buying cables. Add some extra length for flexibility. Cat6 cable is a good choice for most homes. It supports fast speeds and is future-proof.
When running cables, be gentle. Don’t pull too hard or make sharp bends. Use cable ties to keep things neat as you go.
Installing Wall Sockets and Keystone Jacks
Wall sockets make your network look clean and professional. They also protect cable ends from damage. You’ll need to cut holes in the drywall to install them.
Keystone jacks are the actual connectors that go in the wall plates. They’re easy to work with and come in different colors.
To install:
- Cut a hole for the wall box
- Run the cable into the box
- Strip the cable end
- Push the wires into the keystone jack
- Snap the jack into the wall plate
- Screw the plate to the wall box
Follow the color code on the jack to wire it correctly. Double-check your work before closing up the wall.
Ensuring Proper Cable Management
Good cable management keeps your network organized and easy to maintain. It also looks nicer and can prevent damage to cables.
Use cable ties or velcro straps to bundle wires neatly. Don’t make them too tight. Leave some slack for future changes.
Label both ends of each cable. This makes troubleshooting much easier later. You can use simple tape labels or fancy cable markers.
For cables that run along walls, use cable clips or raceways. These keep things tidy and protect the cables from damage.
In your central network area, use a patch panel to organize connections. This gives you a clean, professional setup and makes changes simple.
Network Optimization and Devices
Getting your devices connected and set up properly is key to a fast, reliable home network. The right equipment and settings can make a big difference in your network’s performance.
Connecting Devices to Your Network
Pick the best connection type for each device. Plug computers, gaming systems, and smart TVs directly into ethernet ports when possible. This gives you the fastest, most stable connection. For devices that need to move around, use Wi-Fi.
Set up a network printer so everyone can print easily. Most modern printers connect to Wi-Fi. Follow the printer’s instructions to get it on your network.
If Wi-Fi doesn’t reach everywhere, try powerline adapters. These use your home’s electrical wiring to extend your network. Plug one adapter into an outlet near your router and connect it with an ethernet cable. Put the other adapter where you need internet and plug your device into it.
Configuring Switches and Access Points
Add a network switch if you need more ethernet ports. Switches let you connect lots of wired devices. Look for a gigabit switch to get the fastest speeds.
Put Wi-Fi access points in dead spots to boost coverage. These connect to your main router and create new Wi-Fi hotspots. Place them where your signal is weak.
Set up a mesh network for the best Wi-Fi coverage in larger homes. Mesh systems use multiple units that work together to blanket your whole house in Wi-Fi.
Adjust your router’s settings to reduce network congestion. Put devices that need the fastest speeds on their own network channel. This keeps other traffic from slowing them down.
Advanced Home Ethernet Features
Your home network can do more than just provide basic internet access. Some advanced features can boost performance and expand connectivity options throughout your home.
Power Over Ethernet (PoE) Explained
PoE lets you power devices through Ethernet cables. This means you can install cameras, phones, or access points without worrying about power outlets. PoE switches send electricity and data over the same cable.
You’ll need PoE-compatible devices and switches. There are different PoE standards, so check which one your gear supports. PoE is great for hard-to-reach spots or areas without power.
It’s safer than running extension cords and can save you money on electrician costs. PoE is perfect for smart home setups, letting you add devices easily.
Incorporating Mesh Networks and Repeaters
Mesh systems and repeaters can fix Wi-Fi dead zones in your home. A mesh network uses multiple devices to create a single, large Wi-Fi network.
Repeaters boost your existing Wi-Fi signal to reach farther. Mesh is often better for larger homes, while repeaters work well for smaller spaces.
Mesh systems are easier to set up and manage. They’re great for streaming and online gaming across your whole house. Repeaters can be a cheaper option if you just need to fix one or two weak spots.
Both options let you keep your wired connections while improving wireless coverage. This gives you flexibility for all your devices.