Hardwood floors are a timeless addition to any home, offering both durability and a touch of elegance. Whether you’re renovating or building from scratch, knowing how to install hardwood floors can save you money and provide a sense of personal accomplishment.
In this guide, we’ll walk you through the entire process, from selecting the right type of wood to the final installation. So, let’s get started!
Why Choose Hardwood Floors?
Hardwood floors are a popular choice for many homeowners due to their durability, aesthetic appeal, and ease of maintenance. Unlike carpet, which can trap dust and allergens, hardwood floors offer a cleaner and healthier environment. Plus, they can significantly increase the value of your home.
Types of Hardwood Floors
Choosing the right type of hardwood is crucial. There are two main categories: Solid Hardwood vs. Engineered Hardwood
- Solid Hardwood: These planks are made from a single piece of wood and can be sanded and refinished multiple times. They are ideal for areas with low moisture.
- Engineered Hardwood: These planks consist of multiple layers of wood, with a top layer of genuine hardwood. They are more stable and can be used in areas with higher humidity, like basements.
Tools and Materials You’ll Need
Before you start, gather the necessary tools and materials. Here’s a checklist to get you started:
- Measuring tape
- Chalk line
- Flooring nailer or stapler
- Hammer
- Pry bar
- Saw (circular or miter)
- Wood glue
- Moisture barrier
- Underlayment
- Hardwood planks
- Nails or staples
- Finishing nails
- Wood putty
Preparing Your Subfloor
A properly prepared subfloor is essential for a successful hardwood floor installation. Ensure the subfloor is clean, dry, and level. Remove any old flooring, and repair any damage to the subfloor. A level subfloor prevents gaps and unevenness in your hardwood floor.
Acclimating Your Hardwood
Acclimating your hardwood is a step you shouldn’t skip. Hardwood needs to adjust to the humidity and temperature of your home. Stack the planks in the room where they’ll be installed for at least 48 hours. This helps prevent warping and buckling after installation.
Installation Methods
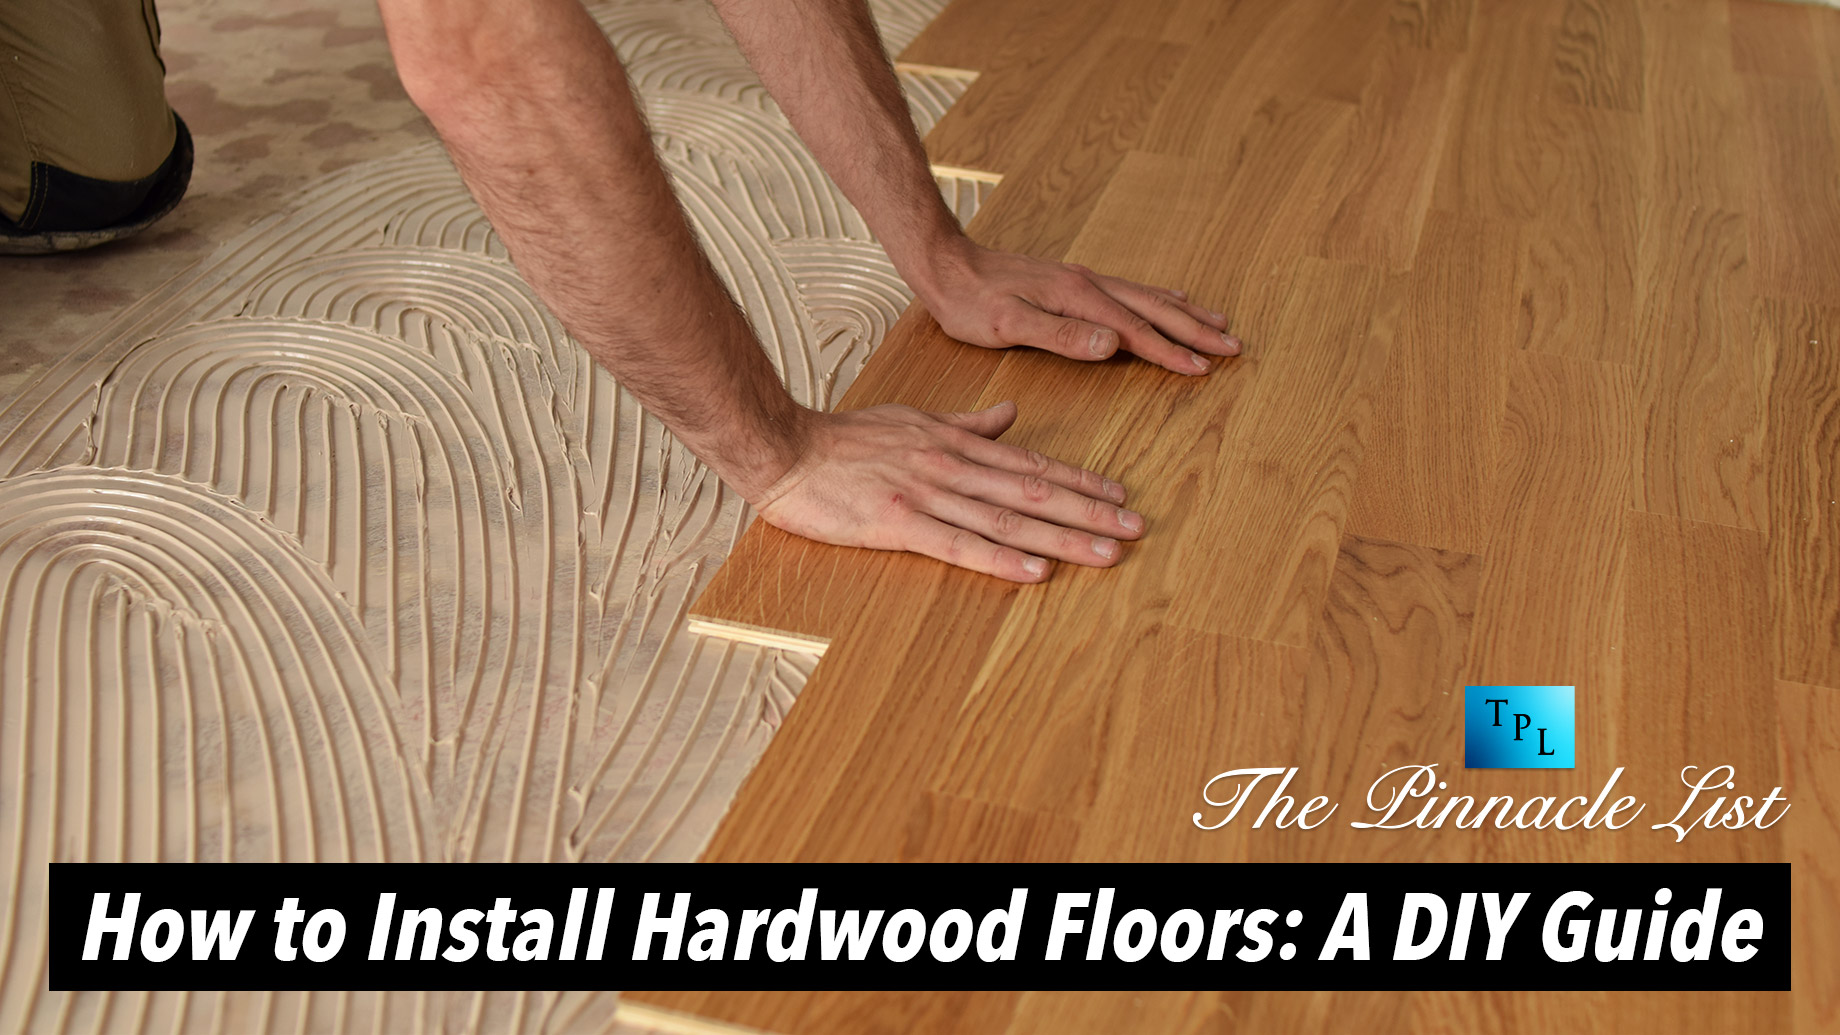
There are several methods for installing hardwood floors, including nail-down, staple-down, glue-down, and floating. Each method has its advantages, and the best choice depends on your specific situation and the type of hardwood you choose.
Step-by-Step Installation Guide
Step 1: Lay the Underlayment
Start by laying a moisture barrier and underlayment. This provides a cushion for your hardwood and helps reduce noise.
Step 2: Measure and Mark
Use a chalk line to mark the starting point for your first row of planks. Ensure it’s straight and aligned with the room.
Step 3: Install the First Row
Place the first row of planks along the chalk line. Leave a 3/4-inch gap between the planks and the wall to allow for expansion. Nail or staple the planks in place.
Step 4: Continue Laying Planks
Stagger the joints between planks in adjacent rows to create a natural look. Use a flooring nailer or stapler to secure the planks.
Step 5: Cut Planks to Fit
Use a saw to cut planks to fit around corners and doorways. Make sure the cuts are precise for a clean look.
Step 6: Finish the Edges
Once all the planks are in place, install the baseboards and moldings to cover the expansion gaps. Use finishing nails and wood putty to secure them.
Finishing Touches
After installation, inspect the floor for any gaps or imperfections. Use wood putty to fill in gaps and touch up any scratches with a wood finish. Clean the floor thoroughly to remove dust and debris.
Maintenance Tips
Maintaining your hardwood floor is essential for its longevity. Here are some tips:
- Regular Cleaning: Sweep or vacuum regularly to remove dirt and debris.
- Avoid Water: Use a damp mop instead of a wet one to clean the floor.
- Protect from Furniture: Use felt pads under furniture legs to prevent scratches.
- Refinish When Necessary: Depending on wear, your floor may need refinishing every 5-10 years.
Troubleshooting Common Issues
- Gaps Between Planks: These can occur due to changes in humidity. Use wood filler to fill gaps and maintain a consistent humidity level in your home.
- Creaking Floors: Creaking can result from loose planks. Secure them with additional nails or staples.
- Scratches and Dents: Minor scratches can be repaired with a wood finish or putty. For deeper dents, consider replacing the affected plank.
Conclusion
Installing hardwood floors yourself can be a rewarding project that enhances the beauty and value of your home. By following this guide, you’ll have the knowledge and confidence to tackle the job. Remember to take your time, prepare properly, and enjoy the process.
At Elephant Floors we offer comprehensive flooring services and also provide materials for hardwood installation. If you feel like you want to go DIY, then feel free to visit our flooring materials store to see what’s best for you.
FAQs
- How long does it take to install hardwood floors?
- The time required depends on the size of the room and your experience level. Generally, a room can be completed in 2-3 days.
- Can I install hardwood floors over concrete?
- Yes, but you’ll need to use engineered hardwood and a proper moisture barrier to prevent issues.
- Do I need to acclimate engineered hardwood?
- Yes, acclimating engineered hardwood is still important to prevent warping and ensure a stable installation.
- What is the best type of hardwood for high-traffic areas?
- Oak and maple are excellent choices for high-traffic areas due to their hardness and durability.
- How can I prevent my hardwood floors from warping?
- Maintain a consistent humidity level in your home and clean up spills immediately to prevent moisture damage.