In an age where security concerns are paramount, installing home security cameras has become increasingly popular. With advancements in technology, it’s now easier than ever to set up your own surveillance system without the need for professional assistance. This guide will walk you through the steps to ensure your home is protected.
The Ultimate Guide to Installing Security Cameras Yourself
Assessing Your Needs
Before diving into the installation process, it’s essential to assess your security needs. Determine the areas of your home that require surveillance, whether it’s the front door, backyard, or garage. Consider factors such as lighting conditions, the range of coverage needed, and whether you prefer wired or wireless cameras.
Choosing the Right Equipment
Selecting the appropriate security camera for your home is crucial. Look for features such as high-definition resolution, night vision capabilities, motion detection, and weather resistance. One popular option is the security camera for home, which offers reliable performance and easy installation.
Planning Camera Placement
Strategic placement of your security cameras is key to maximizing their effectiveness. Place cameras at entry points and areas with high foot traffic to capture any potential intruders. Additionally, ensure there are no obstructions that could hinder the camera’s view and consider the angle for optimal coverage.
Gathering Tools and Supplies
Before beginning the installation process, gather all the necessary tools and supplies. This typically includes a power drill, screws, screwdriver, cable clips, and a ladder. Additionally, if you’re installing wired cameras, ensure you have the appropriate cables and connectors.
Installing the Cameras
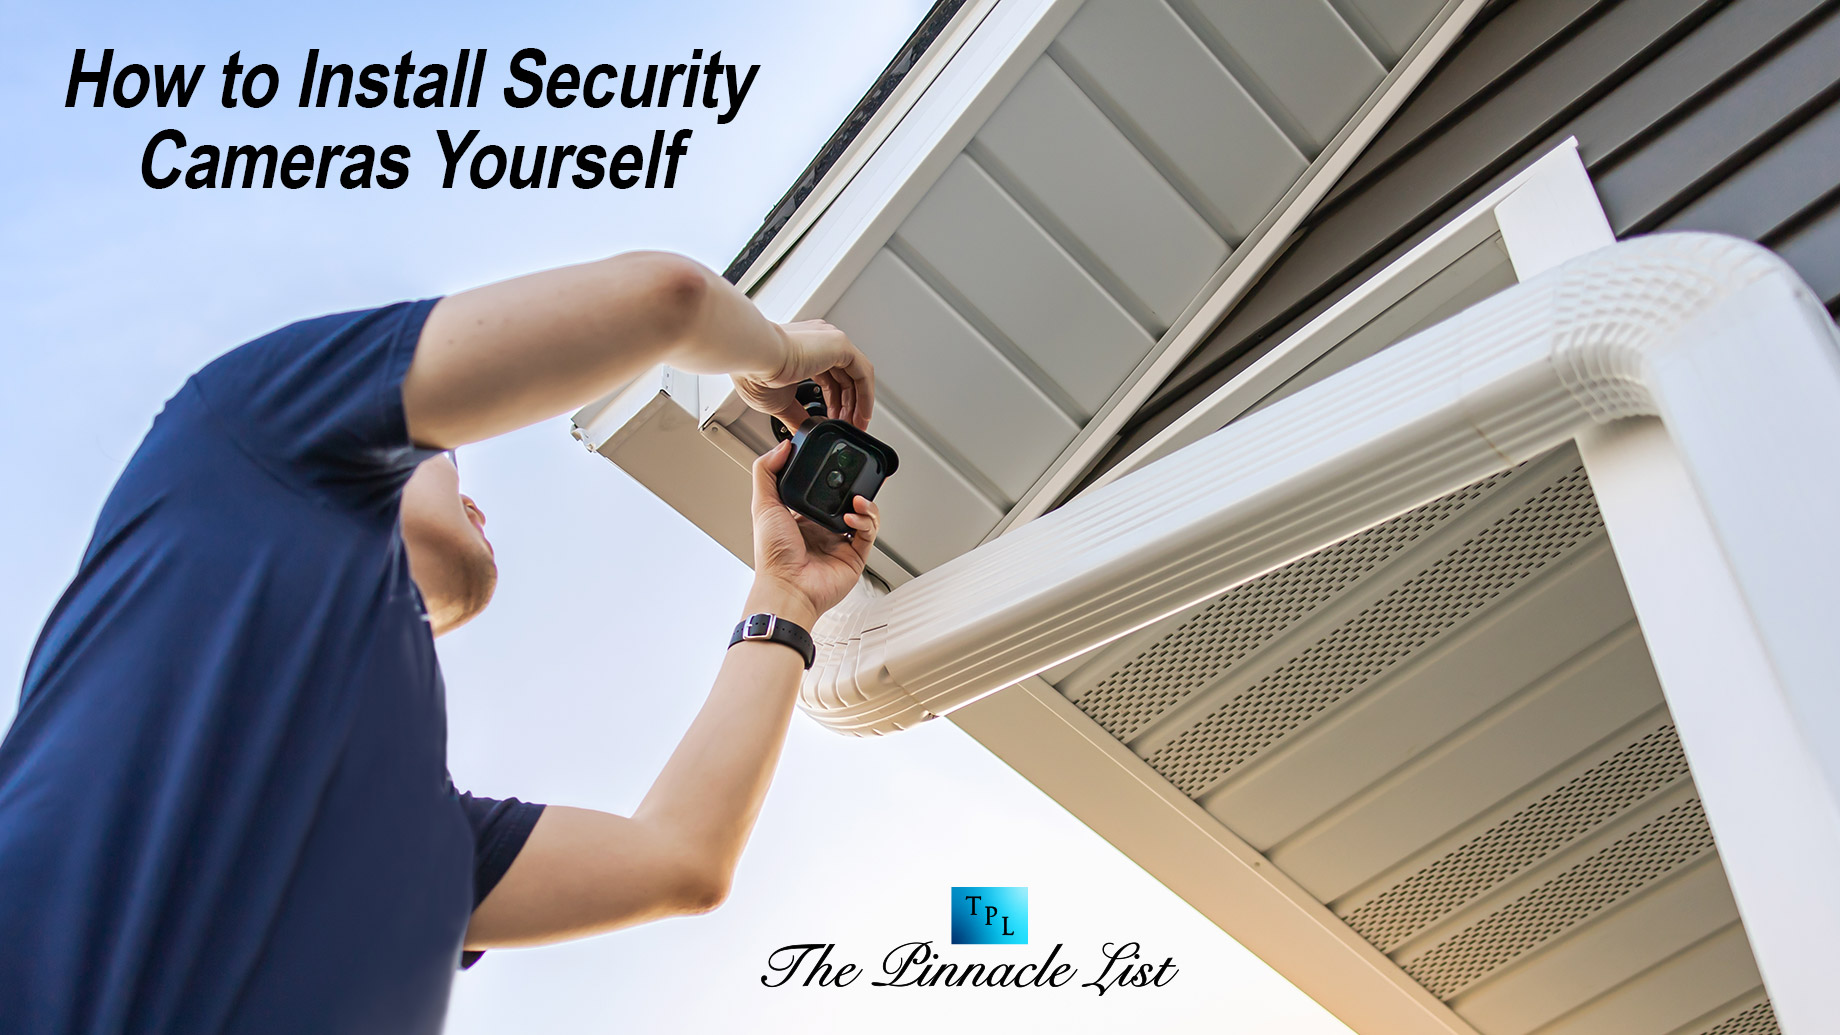
Once you’ve mapped out the placement and gathered your tools, it’s time to start installing the cameras. Follow the manufacturer’s instructions carefully, ensuring the cameras are securely mounted and angled correctly. For wireless cameras, simply attach them to the desired location and connect them to your Wi-Fi network.
Setting Up Monitoring Systems
After installing the cameras, it’s essential to set up monitoring systems for remote access. Many security cameras come with companion apps that allow you to view live footage and receive alerts on your smartphone or tablet. Follow the app’s instructions to create an account, connect your cameras, and customize your settings.
Testing and Calibration
Before considering the installation complete, thoroughly test each camera to ensure it’s functioning correctly. Check the live feed from each camera to verify the image quality and adjust any settings as needed. Additionally, test the motion detection capabilities to ensure they’re accurately capturing any movement.
Securing Your Network
To prevent unauthorized access to your security cameras, it’s vital to secure your home network. Change the default passwords on your cameras and Wi-Fi router to strong, unique passwords. Additionally, enable encryption on your Wi-Fi network and regularly update your camera’s firmware to protect against vulnerabilities.
Maintaining Your System
Regular maintenance is essential to ensure your security cameras continue to operate effectively. Clean the lenses periodically to remove any dirt or debris that could affect image quality. Check the camera mounts and connections for any signs of damage or corrosion, and replace any faulty components promptly.
Conclusion
Installing home security cameras yourself is a rewarding endeavor that provides peace of mind, knowing your home is protected. By following this ultimate guide, you can set up a comprehensive surveillance system tailored to your specific needs. With the right equipment, careful planning, and attention to detail, you can enhance the security of your home and deter potential intruders.