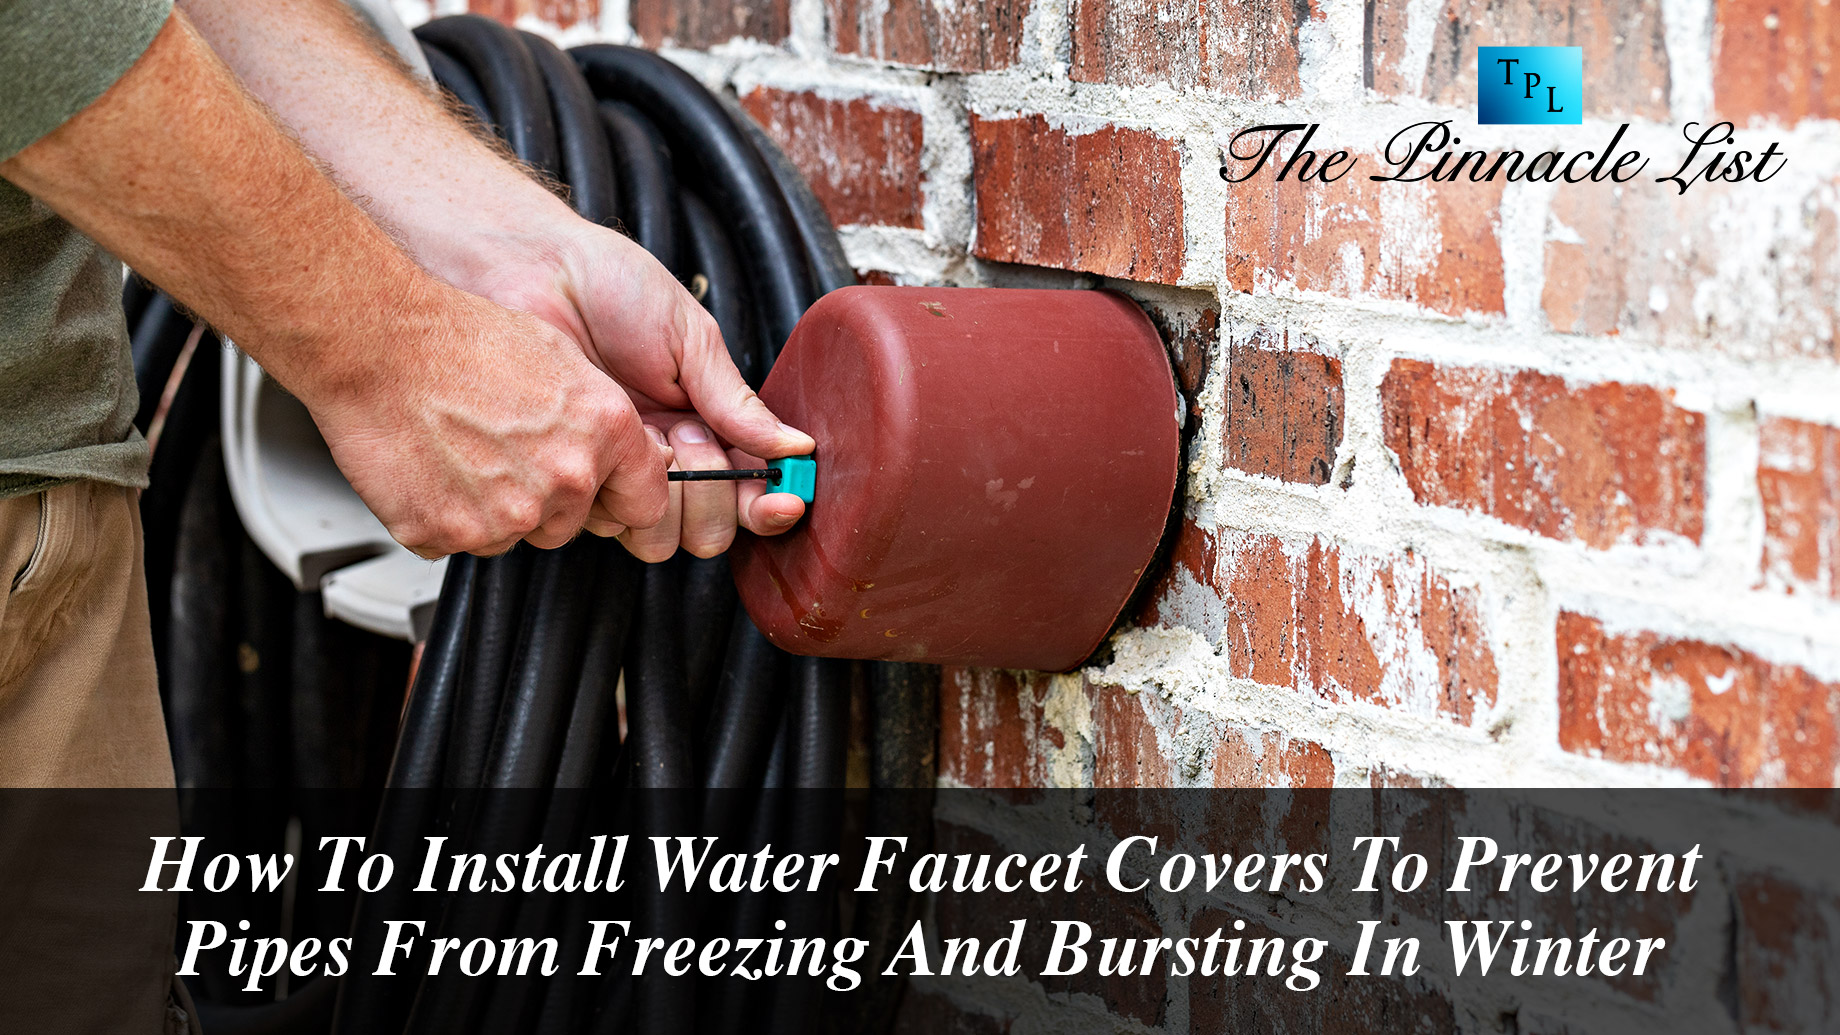
Installing water faucet covers is an important step to take during the winter months to prevent your outdoor faucets from freezing and bursting. Here is how to properly install water faucet covers:
- Begin by gathering all the necessary materials. You will need a water faucet cover, a ladder (if the faucet is high off the ground), a screwdriver or drill (depending on the type of cover you are using), and some sealing tape or silicone caulk.
- Locate the outdoor faucets that you want to cover. These are usually located on the exterior of your home, near the foundation or along the sides of the house.
- Remove any hose or attachments that are currently connected to the faucet. This will make it easier to access the faucet and install the cover.
- Place the ladder under the faucet, if necessary, and climb up to the faucet. Make sure the ladder is stable and secure before climbing.
- There are two types of water faucet covers: ones that screw on and ones that slide on. If you are using a screw-on cover, simply screw it onto the faucet using the screwdriver. If you are using a slide-on cover, slide it onto the faucet and secure it in place with sealing tape or silicone caulk.
- Repeat the process for all of the outdoor faucets that you want to cover.
- Once all of the faucet covers are in place, turn the water back on to the faucets and check for any leaks or issues. If everything is secure and functioning properly, you are all set for the winter months.
By following these steps to install water faucet covers, you can easily and effectively protect your outdoor faucets from freezing and bursting during the winter months. It is a simple and important task to ensure the safety and efficiency of your home’s plumbing system.
In addition to these general steps, we detail alternative best ways to install water faucet covers, which will properly insulate your faucets and prevent any serious damage to your home.