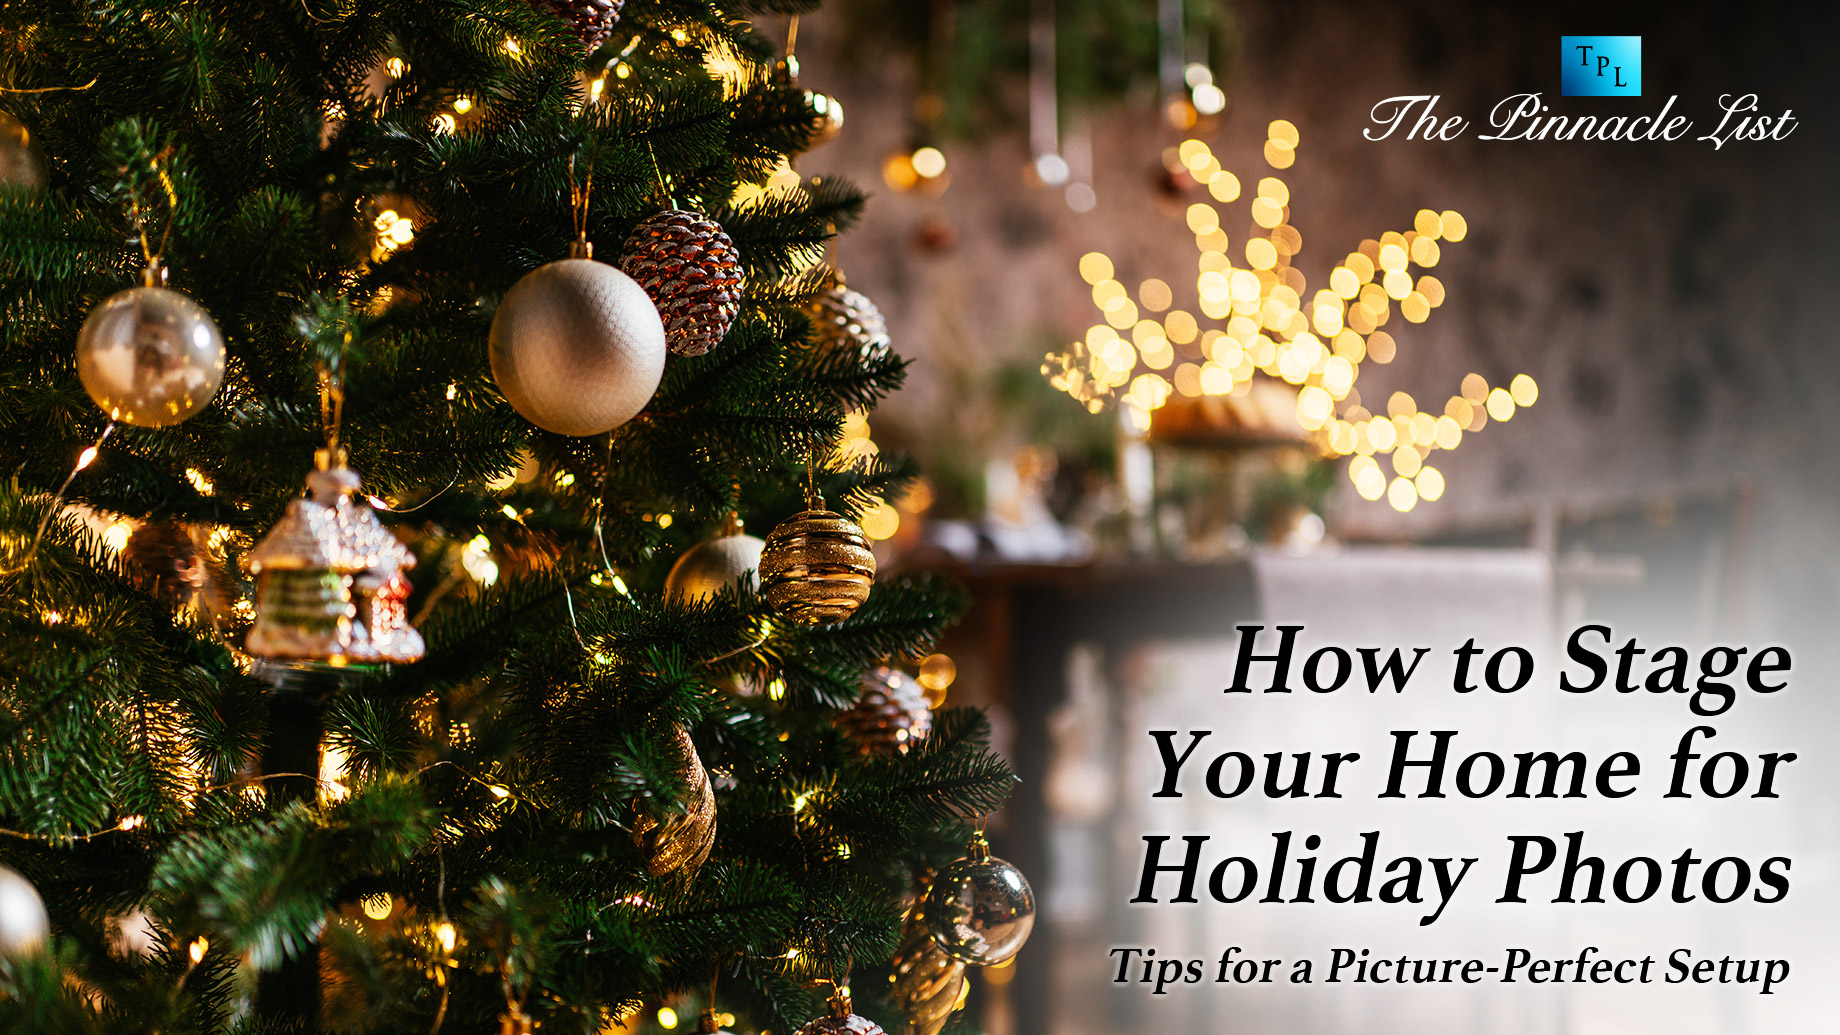
Remember last year’s holiday photos? If you don’t, then this guide is for you.
Holidays are an important time of the year for Americans. An average American spends around $902 on winter festivities every year. So, it makes sense to want to photograph these precious moments. But not everyone has a beautifully staged home for flawless photos.
The good news is that you can turn any home into a perfect backdrop with small tweaks like strategic lighting, creating strong focal points, and some basic landscape maintenance tasks like trimming the hedges, adding fresh greenery, keeping the pathways clear, and so on.
And if you want to learn in detail about the art of creating a warm, inviting backdrop for your holiday pictures, continue reading.
Set the Scene with Cozy Lighting
Everyone knows lighting can make a world of difference in photography. For holiday pictures worth gushing about, you need to start by layering lights.
Professional photographers swear by the color temperature rule for a reason. You’ll want to aim for warm lighting between 2700-3000 Kelvin – that’s the sweet spot that gives you that cozy, golden glow we all love in holiday photos.
Layer your lighting sources like you’re building a cake. Start with your tree lights as your base ambient lighting, add some strategically placed table lamps at eye level, and top it off with candles (real or LED) for those magical twinkly highlights.
Natural light is great, too! We suggest you take photos during “golden hour” (the hour before sunset) for an effortlessly warm, even tone.
Quick tips to nail your lighting setup:
- Position light sources at different heights to eliminate harsh shadows
- Keep your phone’s flash off – it flattens the ambiance
- Set up lights behind your tree for a subtle backlit glow
- Time your photos for “golden hour” (just before sunset) when possible
- Mix warm white lights with metallic decor to create natural sparkle points
Let Your Natural Greenery Take Center Stage
You can make your pictures look straight out of a magazine cover with well-planned greenery. However, winter gardening is not a walk in the park (or garden)
A lot of people end up making common mistakes like planting trees too close to structures or forgetting a plant’s mature size can lead to overgrown areas that feel cluttered and distracting in photos.
Start with the basics – make sure your shrubs are neatly trimmed around windows and entryways so they frame your shots rather than block them.
Make your pictures pop with visual interest in the form of evergreens, holly bushes, and ornamental grasses that stay stunning even in the cold. Don’t forget the lights as well. As Lifescape Colorado rightly points out, any impressive light display requires not only time and care but also a touch of strategy.
To get the best photos, you have to be choosy about what elements of your landscape to highlight. Using LED landscape lighting to highlight the architectural elements of the garden would be a good way to start.
You can also consider adding a splash of color with winter plant containers, fixing that cracked patio, or making other aesthetic enhancements to create a flawless background for your pictures.
Sounds like a lot of work, doesn’t it? Well, landscape maintenance indeed is a lot of work. Holidays are a busy time anyway. So, if you want to save yourself time and grunt work, you can opt for a professional landscape design and maintenance service.
Create a Cozy Focal Point
Every great photo needs a star – a focal point. In design terms, a focal point is what catches the eye first and anchors the whole scene. For holiday photos, this could be your decorated mantel, a decked-out staircase, or a beautifully trimmed tree.
Creating an effective focal is mostly about drawing attention through contrast, scale, and visual weight. Start by choosing your main photo spot – ideally somewhere with good natural light and enough space for people to gather naturally.
Consider the flow of movement in the space as well. Make sure people can naturally gather around the focal point without blocking key areas of the scene. Avoid overcrowding the area, and instead, let the focal point stand out clearly.
Speaking of NOT overcrowding, follow the designer’s rule of thirds: divide your space into a 3×3 grid and place key elements at the intersection points. This creates balance while keeping things interesting.
For optimal effect:
- Position decor at three key heights: eye level, waist level, and ground level. This helps create a sense of depth and dimension in your photos.
- Place larger pieces (lanterns, vases) at varying heights to create a layered, more dynamic look.
- Fill spaces between with smaller accent pieces to make everything feel connected but not overcrowded.
- Add depth with textural elements like chunky knit throws or metallic ornaments. They’ll reflect light beautifully and bring warmth to your setup.
- Follow the 80/20 decluttering rule – keep about 20% of the space clear to avoid cluttering the shot. This open space lets the focal point breathe, making the overall scene feel calm yet complete.
Get Ready for a Picture-perfect Holiday!
We hope this guide helps you prepare your home for the most magical time of the year. Creating an amazing backdrop for great pictures doesn’t necessarily require fancy professional equipment. You have no idea what you can accomplish with just a thoughtful approach to your space. So, go ahead and build a beautiful backdrop for holiday memories.